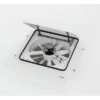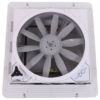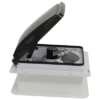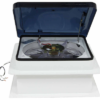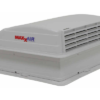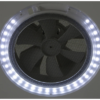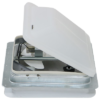
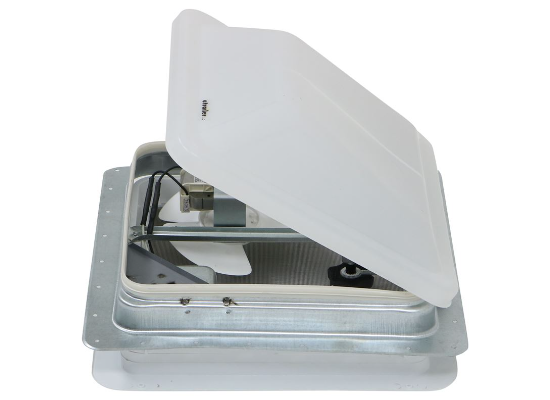
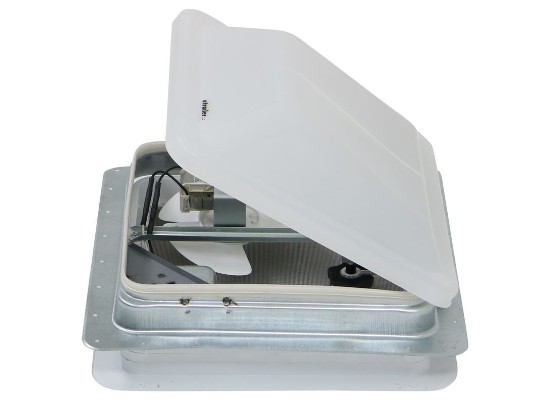
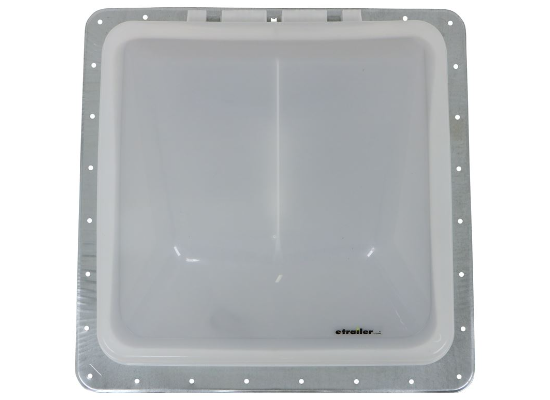
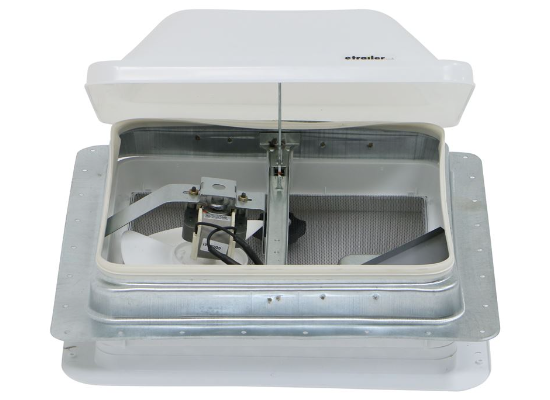
Ventline Roof Vent w/ 120V Fan – Manual Lift – 14-1/4″ x 14-1/4″ – White – Polar Trim
144.00$
Delivery in 2-3days
30days Return Policy
3Years Warranty
Description
Description
Ventline RV Vents and Fans
- Roof Vent
- Vent
- 110V Fan
- 14W x 14L Inch
- White
- Manual Lift
- Ventline
- Plastic and Metal
- 4-1/2 Inch
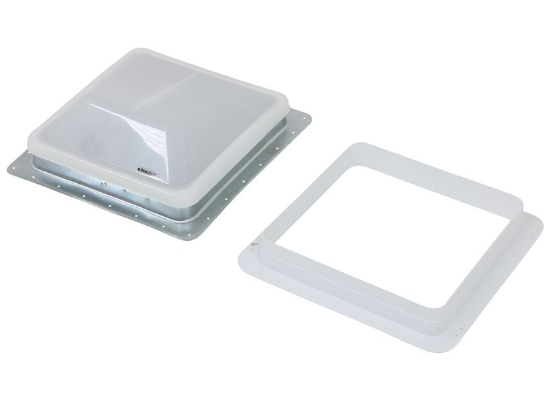
This roof vent uses a 120V fan to circulate air in motor homes and enclosed trailers, keeping interiors ventilated without compromising security. Wedge-shaped, white plastic vent cover opens and closes with a hand-operated crank.
Features:
- Roof vent’s electric fan yields better air circulation than non-powered models, exhausting hot air while trailer or RV remains locked and secure
- Simple to upgrade from non-powered model
- Basic, hand-operated crank rotates to open and close dome
- Switch to turn the fan on/off is mounted on the vent
- Translucent cover allows some light through
- Aerodynamic, wedge-shaped dome made of durable polypropylene
- Galvanized steel roof flange won’t rust or corrode
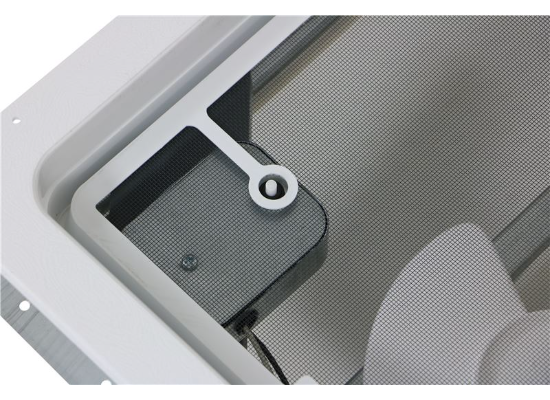
- Built-in screen keeps debris and insects out of trailer
- Polar White interior trim piece (or garnish) is included
- Made in the USA
Specs:
- Included garnish fits roofs 2-1/8″ to 3-1/4″ thick
- Garnish leg length (depth): 2-1/8″
- Garnish color: Polar White
- Other garnish sizes are available (sold separately)
- Fan power: 120-volt AC
- 100CFM
- Motor power draw: 0.77 amps
- Cover color: white
- Rough opening size: 14-1/4″ wide x 14-1/4″ long
- Vent extends above roof:
- 4-1/2″ Closed
- 10″ Open
- 2-Year warranty
Notes:
- Screws and sealer are not included. See installation kit (344270KITW), which includes all necessary screws and sealer to install vent.
- Not for use above tubs, showers or range cooking surfaces.

Installation Instructions
- Mark desired location for vent. Be sure to choose a location between roof joists.
- Cut a 14-1/4″ x 14-1/4″ opening through roof and ceiling. (Or use existing opening if you’re replacing a standard 14-1/4″ x 14-1/4″ vent.)
- Apply sealant to bottom of flange. Be sure to surround each screw hole.
- Insert vent through hole with screen frame extending through roof cavity and hinge of vent toward the front of the vehicle.
- Mount to roof with #8 screws.
- Remove screen frame and wiring compartment cover to make electrical connections.
- Connect to 120-volt DC power source.
- Replace screen frame.
- Attach interior garnish piece with #8 screws.